
How To Make A Skirt
In this tutorial, I will guide you through the step-by-step process of creating your own skirt. Making a skirt is a fun and rewarding project that allows you to customize your wardrobe and showcase your personal style. Whether you're a beginner or an experienced seamstress, this tutorial will help you create a beautiful skirt that fits you perfectly.
Materials Needed:
Fabric of your choice (approximately 2 yards)
Sewing machine
Thread (matching the fabric color)
Measuring tape
Scissors
Pins
Iron
Elastic band (1 inch wide)
Sewing gauge or ruler
Marking tool (fabric chalk or disappearing ink pen)
Zipper (optional, for a zipper closure)

If you would like to use a pattern for this class here is where you will find it.
Step 1: Take Measurements
Start by taking your waist and hip measurements. Measure around your natural waistline and the fullest part of your hips. Also measure how long you want the skirt to be from where the waste band will sit. Write down these measurements, as they will determine the size of your skirt.
Step 2: Prepare the Fabric
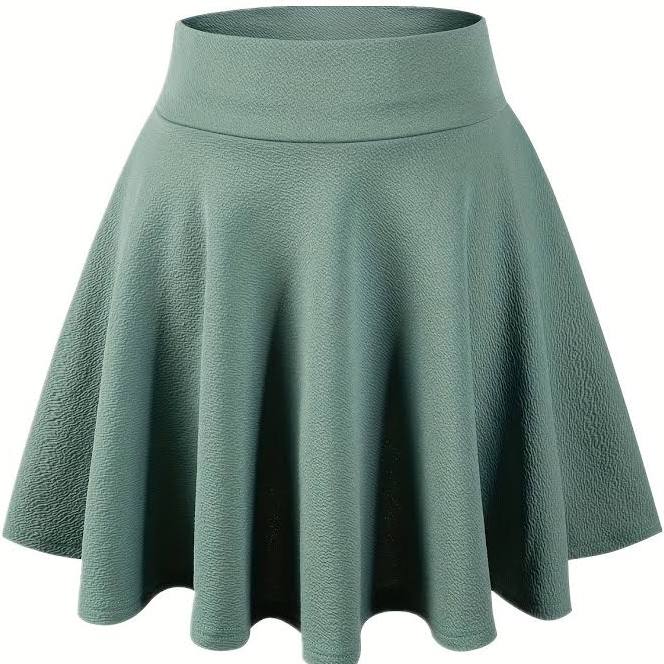
For a circle skirt with an elastic waistband, consider lightweight, breathable fabrics like jersey knit or cotton jersey. Pros of jersey knit include comfort, stretch, and ease of sewing. Cotton jersey is durable and drapes well. However, these fabrics may lack the flow and twirl of stiffer fabrics like tulle or satin. Satin, while elegant, can be slippery to sew and prone to wrinkling. Tulle creates a dramatic effect but can be scratchy and may need a lining. Ultimately, the choice depends on the desired style, comfort, and sewing experience.
Wash, dry, and iron your fabric before starting. This ensures that any shrinkage occurs before you sew your skirt. Fold the fabric in half, aligning the selvages, and place it on a flat surface.
Step 3: Mark and Cut the Fabric
Using the measurements you took earlier, mark and cut the fabric to the desired length of your skirt, adding an additional 1-2 inches for seam allowances. If you want a flared or A-line skirt, mark the desired width at the hemline and gradually taper it towards the waistline.
Step 4: Sew the Side Seams
Fold the fabric in half with the right sides facing each other, aligning the raw edges. Pin the side seams together and sew using a straight stitch, leaving a 1/2 inch seam allowance. Press the seam open or to one side using an iron.
Step 5: Create the Waistband
Fold the top edge of the skirt fabric down by 1 inch and press with an iron. Fold it down again, leaving enough space to accommodate the elastic band. Pin the fold in place. Stitch along the bottom edge of the fold, leaving a small opening to insert the elastic.
Step 6: Insert the Elastic
Measure the elastic to fit your waist comfortably, leaving a little extra for overlap. Attach a safety pin to one end of the elastic and thread it through the waistband casing, being careful not to twist it. Overlap the ends of the elastic by 1 inch and sew them securely together. Sew the opening in the waistband closed.
Step 7: Finish the Hemline
Try on the skirt and determine the desired length. Fold the bottom edge of the skirt fabric up by 1/2 inch and press with an iron. Fold it up again by 1/2 inch, enclosing the raw edge, and press. Pin the fold in place and sew along the top edge to secure the hemline.
Optional Step 8: Add a Zipper Closure
If you prefer a zipper closure instead of an elastic waistband, sew the side seams together, leaving an opening above the hip area. Insert the zipper into the opening following the manufacturer's instructions.
Step 9: Final Touches
Once you've completed all the sewing, trim any loose threads and give your skirt a final press with an iron. Try it on and make any necessary adjustments to ensure a perfect fit.
Step 10: Share your art with us.
When you're done please share glamour shots of how cute your skirt turned out; we're excited to see it. At the top of this page you will see a link that says, "Show us your art," here is where to post the photo so we can take a look.
Congratulations! You've successfully created your own skirt. Experiment with different fabrics, lengths, and styles to expand your wardrobe and express your creativity. Enjoy wearing your unique handmade creation!